Tuesday, January 31, 2012

Flavor of the month


So here we are at the end of January.  For the most part, my new FOCUS plan is off to a good start!  I did get derailed slightly during the past week--my dad & his girlfriend Judy (who is really great) got here in time for Brianna's birthday last Wednesday and went home Sunday afternoon.  That was okay, though, because I only had one item left to fill in on my list when they got here--the Ingredient focus.  When I came up with the list, I figured that one would be an opportunity to highlight a new ingredient each month.  But I wasn't feeling it.  I considered--and discarded--several possibilities, but nothing was really grabbing my attention.  Since part of my goal this year is to focus on things that have value for me instead of just doing things because I think I should, I didn't want to force myself to make something that might or might not get eaten.  I was also running out of time, so that was a factor. =)  

Some of my best ideas come as I'm lying in bed at night before I fall asleep.  I've taken to keeping one of my notebooks handy so I can jot stuff down more easily so I don't lose it.  Sunday night, what was going around in my head was the fact that my ingredient and pantry categories were already sort of overlapping.  I also wanted to blog about Brianna's birthday cake.  I was also thinking about the new cookbook I bought last Friday.  Something in my brain put all of those things together and got them to gel.  I didn't want to write about ingredients (I'll combine that with pantry going forward), I wanted to write about flavors.  


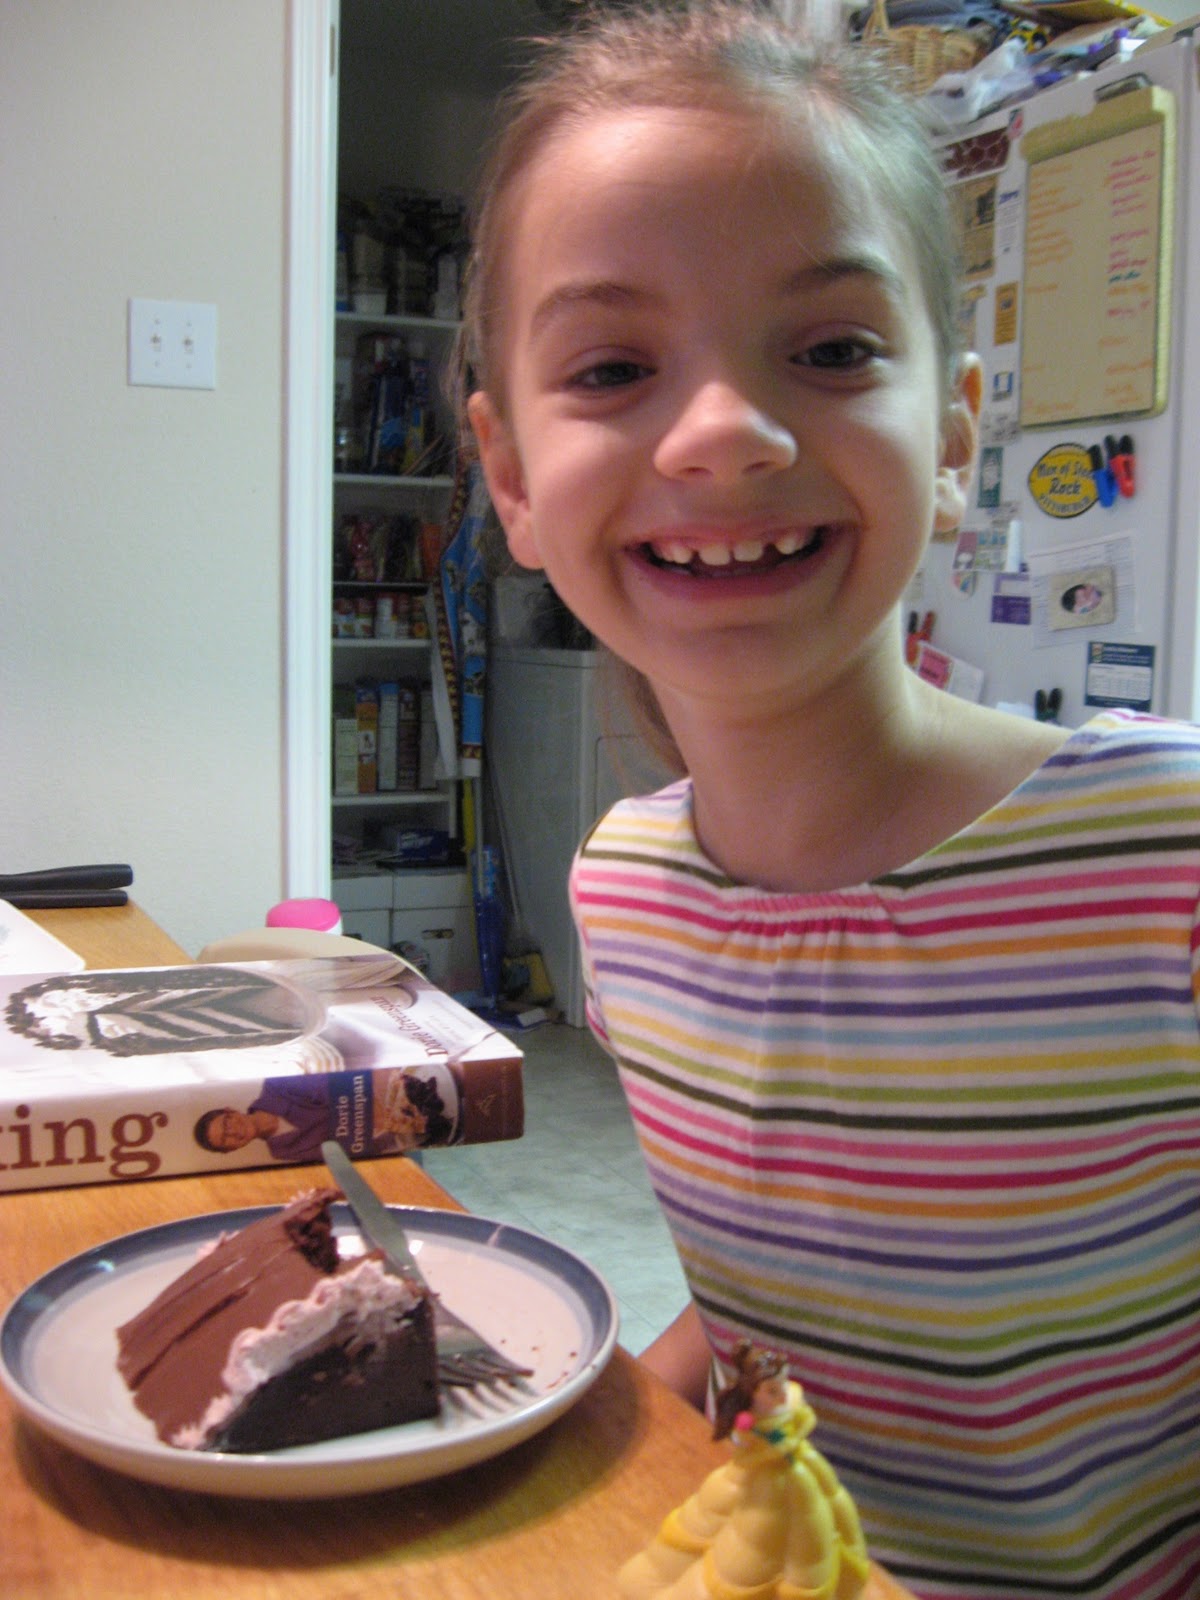
I've mentioned before that around here, the preferred cake flavor for everyone but me is chocolate.  When I asked B what kind of cake she wanted, I fully expected her answer of chocolate cake with chocolate frosting.  But she surprised me with the filling--she started to ask for vanilla, like last year's cake, but then changed it to raspberry.  Chocolate and raspberry is one of my all-time favorite flavor combinations.  Sold!  I'm not sure exactly what it is about those two flavors that works so well together.  I also like cranberry with chocolate, so I think it has to do with the fruity tartness in contrast to the rich chocolate.  Whatever it is, I'm not complaining. =)  Our favorite filling is Swiss meringue buttercream, for its smooth, creamy texture.  I've tried different ways to flavor it, with varying success.  This time, I turned to the raspberry sauce from my copy of Jeni's Splendid Ice Creams at Home.  It was fabulous in ice cream, and I thought it would work well in the frosting, too.  

B decided she wanted a rectangular cake rather than a round one.  I learned a long time ago that it's a total pain to try to slice a regular 13" x 9" cake horizontally to form two layers.  Instead, I have a couple of quarter sheet pans.  My go-to chocolate cake recipe is the Chocolate Fudge Cake from The Cake Bible.  I love that it gives the option to use natural cocoa powder, which I prefer, and it's made with brown sugar, which contributes to the moist fudgy texture.  The recipe calls for two 9" round pans, but I find that it works great for two thinner 13" x 9" layers.  The baking time is shorter--about 20 minutes. I line the pans with parchment, and let the cakes cool in the pans.  

When I was ready to assemble the cake, I flipped one of the layers onto my serving tray and peeled off the parchment.  I spread the cake with a thin layer of straight raspberry sauce (which is more like jam than sauce in texture), then topped that with a nice layer of the raspberry buttercream.  I then flipped the second cake layer on top (and removed the parchment from that as well).  I put the cake in the fridge so the filling would have a chance to firm up while I made the chocolate frosting.  My favorite recipe for that is a great recipe from Fine Cooking.  It uses sour cream, and I love how the tang cuts through the sweetness of the powdered sugar in the frosting.  It's also really easy to mix up with a bowl and a whisk.  Once the cake had chilled a bit, I covered it with the chocolate frosting.  I used more of the raspberry buttercream to decorate the cake with a shell border around the bottom and stars around the top, as well as a festive message.


The verdict?  Using the raspberry sauce to flavor the Swiss meringue buttercream works very well--you still have a smooth texture.  I've tried using fruit puree in the past, and it tends to be too watery and make the buttercream break.  The raspberry sauce is also tart enough to balance the sweetness of the frosting, plus it makes it such a lovely pink color.  As for the flavor combination, this was a winner, no surprise there.  You can really taste the fruit, and it works so well with the rich chocolate.  I also love the contrasting textures of the silky buttercream and denser chocolate frosting.  

Part of the fun is figuring out what flavors appeal to you, and I love pulling together components from different sources to see how they work together.  I encourage you to do the same, but figured I'd share the ones I used here in case you're looking for inspiration.  The Chocolate Fudge Cake recipe can be round in The Cake Bible.  If you aren't fortunate enough to have a copy, your local library might.  The Chocolate-Sour Cream Frosting recipe can be found in this post (adapted from Fine Cooking).  There are lots of places to find Swiss meringue buttercream; my go-to is Dorie's recipe, which can be found in this post.  The raspberry sauce is pretty straightforward to make, and can be found in the middle of this article in the Post-Gazette (I used regular raspberries, not black).


Sunday, January 22, 2012

I'd like to propose some toast


I usually pack my lunch to take to work.  It saves money, not to mention that it's usually nice not to have to go anywhere to get food.  That means more reading time. =)  Occasionally, I just have to get away from work for a bit, but I try to keep that to a minimum.  I get lots of comments from those who envy my lunches, even when it's just a sandwich.  "I bet you made that bread, didn't you?"  No, I don't always, but I definitely like to when I have the time.  I generally prefer hearty breads or rolls for my sandwiches, rather than traditional "sandwich bread."  I'd rather save those pan loaves for toast, or better yet, French toast.  They're also good for grilled cheese, but not what I prefer for cold sandwiches.  

White bread dough also makes good dinner rolls, or hot dog & hamburger rolls.  I almost never buy those anymore.  Homemade ones just taste better, as well as hold up better to juicy burgers or sauerkraut on dogs.  Another great thing is that white bread loaves or rolls are relatively quick to make--you use a straight dough that is done all in one day.  There's no need to remember to make a preferment the night before.  The butter and sugar in the dough can slow the rising times a bit, but you can remedy that with either some SAF Gold yeast or using a slightly warmed oven as a proofing box.  Either way, look out, since although the dough can get off to a slow start when proofing, once it gets going it can blow the lid off your container if you're not paying attention. =)


I've pretty much decided that there's no way I'm going to fully complete the BBA Challenge, but my friends Kayte and Margaret are still trying to get it done.  (Some of the recipes just don't appeal to me, and I don't feel like making them just to say that I did.)  Even though I've skipped a bunch of recipes they invited me to join in on the White Bread variations.  I don't actually make regular white bread very often--I usually can't help myself from substituting some white whole wheat flour for part of the bread flour.  In fact, I did just that with the second variation of the BBA white bread, which I posted quite a while back.  This time I decided to stay true to the recipe and make it with just bread flour.  The first variation uses dry milk powder and water rather than milk or buttermilk.  Fortunately I had some dry milk in my pantry, though I think it's almost time to replace it.  Unless it's pretty fresh, I find that it tends to clump up and make small lumps in the dough.  

I made the dough with the lesser amount of water, but still found it to be quite sticky.  I added some additional flour while it kneaded in the mixer.  I often start doughs in my stand mixer then finish kneading them by hand so I don't overheat the machine.  That's what I did for this recipe, and I ended up kneading in a bunch of bench flour by hand to get the dough to the point where it was just tacky rather than sticky.  I didn't keep track of the time, I just kneaded until I got a fairly decent windowpane.  It wasn't perfect, but I tend to be impatient when kneading. After the initial proofing (which took a couple hours), I formed the dough into one pan loaf and half a dozen oval rolls.  After letting them rise, I baked the rolls first--they got 15 minutes at 400ºF.  Then I turned the oven down to 350ºF and baked the loaf for about 30 minutes.


The verdict?  Whole grains and hearth breads are wonderful, but sometimes you just want some plain white sandwich bread.  This one is delicious.  The girls and I sampled some of it with jam for a snack, and it was a hit all around.  B is excited to have the rolls for her lunch, and I'm sure both girls will be happy to have bread stashed in the freezer so we can make toast for breakfast.   

If you'd like to make this bread for yourself, I highly recommend getting a copy of The Bread Baker's Apprentice.  There are still a lot of people out there trying to baking through the whole book--you can read about it on the BBA Challenge Facebook page.  You can read Kayte's post about this bread on her blog.  And check out Yeastspotting for lots of other delicious yeasted treats.


Wednesday, January 18, 2012

Tuesday, January 17, 2012

P is for perfect, they're close enough for me


Monday was a mostly lazy day around here.  I was lucky enough to have the day off due to the holiday.  It was just me and Brianna at home; I sent Gillian to daycare so I didn't have to listen to the two of them arguing. =)  Actually, it was just as much because I knew I needed to take Brianna shoe shopping, and you couldn't pay me enough to do that with both of them in tow.  (I like to think I've learned my lesson--the hard way--with that one.)  I was pleasantly surprised that the shopping went pretty quickly.  I was just plain old surprised at how much B's feet had grown--the salesperson said that the new shoes she picked run a bit small, but we still had to buy a size 4 (!) to make sure she had a bit of growing room.  Crazy.


Other than the shopping, we were pretty lazy--we sat around and watched cartoons.  I napped; Brianna read.  I did summon up the energy to bake some cookies, though.  This is yet another one of those recipes that I've made a whole bunch but never blogged.  Everybody needs a good chocolate chip cookie recipe in their repertoire.  For the longest time, mine was the one in my Betty Crocker cookbook, and I do still make that one sometimes.  But a couple years ago, Cook's Illustrated published a recipe for what they claimed to be the Perfect Chocolate Chip Cookie.  

Their definition of perfect is cookies that are chewy in the middle but crisp on the edges, with lots of buttery, toffee-like flavor.  Sounds pretty good to me!  The keys to achieving that flavor are browned butter--melted butter makes for a chewier cookie, and browning it adds flavor--and dark brown sugar.  For the texture, besides melting the butter they went with a somewhat unique mixing method to dissolve some of the sugar (helps with the crisp edges) and also removed an egg white for more chewiness.  The recipe says it makes 16 cookies.  Those must be some huge cookies!  I made mine smaller (still about 3" across) and got twice as many.  I baked them for 12 minutes.  For this batch, I skipped the nuts (which I'd like but my girls wouldn't eat) in favor of a mix of semisweet and bittersweet chocolate chips.  


The verdict?  Well, the dough itself is extremely dangerous--to the point where I'm not usually very interested in eating the cookies once they're baked because I've eaten too much dough. =)  I'm a sucker for anything with browned butter.  The baked cookies are really good, too.  I've made quite a few variations over time--the most popular (with people outside my house) was probably the batch I made with pecans and white chocolate chips.  This recipe is my pantry focus for this month--I always have the dough ingredients on hand, and the mix-ins can be whatever I have in the pantry that sounds good.

If you'd like to make these for yourself, you can find the recipe here at Cook's Illustrated.  My friend Tracey also has it on her blog.  


Sunday, January 15, 2012

Thank you, thank you, Sam-I-am!


I do not like granola.  I do not like it from a box; I would not like it with a fox.  I will not eat it as a bar; I will not eat it in a car...  

I bought some granola several years ago to make these TWD cookies, and as Brianna would say, it was okay, but not my favorite--definitely not something I'd eat outside of a cookie, or on a regular basis.  I can sort of understand the appeal--it's a good way to get some fiber, and it can have assorted fruits and nuts in it, which are good for you.  It just doesn't taste all that great, and way too much of it seems to have coconut of some sort.  No need for that.  And don't get me started on store-bought granola bars.  Ick.  


In spite of my dislike of granola, when I saw my friend Tracey's blog, I was intrigued.  I had just made some oatmeal scones for breakfast using toasted oats.  I don't like cooked oatmeal due to the texture, but sometimes I wish that I did like it, since you can add so many interesting things to it.  The granola Tracey made had lots of ingredients that I like--pecans, brown sugar, cinnamon.  I also have a giant bag of dried cranberries (thank you, Costco) in my pantry, so I was excited to see a way to use some of them.  I figured, what the heck, if I hate the granola, I can always give it away. =)

I wasn't sure how much I'd like the honey in the recipe (another thing that isn't my favorite), but decided to make the recipe as written.  It's really easy--first you mix together the oats, pecans, brown sugar, cinnamon and salt in a big bowl.  Then you put the oil, granulated sugar, and honey in a small saucepan and warm them up.  I'm guessing that's to make it easier to mix into the dry ingredients, since honey is a lot more fluid when it's warm.  You stir in a whole bunch of vanilla (I used my good stuff) once the rest of the ingredients are warm, and pour the liquids over the oat mixture.  Once everything is stirred together, it goes into a somewhat low oven (300ºF) for about half an hour, stirring every ten minutes or so.  That's another thing that I liked about the recipe--some granola recipes have you baking the granola for a hour or longer.  Once the granola is out of the oven and cool, you mix in the cranberries.  


The verdict?  Wow.  This stuff is fantastic!  It's a perfect example of why you should make things at home--freshly made granola is a whole different thing from the stuff you buy at the store.  Who knew?  I took a bunch of this batch to work--everyone seems to be avoiding sweets right now, having indulged too much over the holidays, so I thought maybe they'd appreciate something healthier.  It was a big hit all around.  I promised them that I'd bring in more as I try different variations.  I can't wait to play around with the recipe to see what else I can come up with.  Today I tried substituting grade B maple syrup for the honey--the honey taste isn't overpowering in the first version I made, but I really prefer other sweeteners.  And how can you go wrong with maple & pecans & brown sugar?  The result isn't super mapley, but it's really good.  It's a bit drier/less sticky than the honey version, probably because the maple syrup isn't as viscous as honey.  I also rubbed vanilla bean seeds into the granulated sugar, and cut the vanilla extract back to just one teaspoon.  I'm really happy with how it turned out.  

If you'd like to try the original granola recipe for yourself, you can find it here on Tracey's blog.  Be sure to look around while you're there--she posts so many delicious recipes, both sweet and savory. =)

Friday, January 13, 2012

Don't fear the caramel


It seems like it's been quite a while since I made anything with caramel.  It's not that I was consciously avoiding it, but I realized that the last time I attempted it was when I had my difficulties with the microwave caramel sauce back in October.  (I'm happy to report that my hand is all better--you can barely tell where I burned it.)  I decided to revert to my old way of making it on the stovetop, and definitely won't go months without making it next time.  So what exactly prompted me to start caramelizing sugar again?  A cake.  And what prompted me to make the cake?  A new pan!  It's a Christmas present of sorts--I spent some of my Christmas money (thanks, K&L!) on a very cute little 6-cup Bundt pan.  For the record, it's possible that my collection is getting a bit out of control, though Mary still has me beat. 

The new 6-cup pan is in the back, between the Heritage pan (left) and Kugelhopf pan (right)

Speaking of Mary, I have her to thank for the cake inspiration.  Back in November when she was celebrating National Bundt Day with her latest round of 30 bundts in 30 days, Mary also did a giveaway.  She invited everyone to bake and post a cake on National Bundt Day, and then drew a name to receive a copy of Cake Simple, a book full of bundt cakes.  I was the winner!  The book is from Christie Matheson--if the name is familiar, it may be because she also worked with Joanne Chang on the Flour Bakery cookbook.  

Since I was eager to use my new pan, I started by looking through the recipes that called for a 6-cup pan.  (There are also recipes for 10 or 12 cup pans, as well as a chapter on minis.)  The one that immediately caught my eye was the recipe for the Salted Caramel Bundt.  First you make a caramel syrup, which is used in the cake and in the glaze.  The cake itself is made with the creaming method, and comes together pretty quickly.  There's almost too much batter for the pan, but it worked out okay.  My cake took about 45 minutes to bake. 


The verdict?  This was pretty tasty!  The cake is really moist.  I didn't really care for the texture of the glaze, so I may change that up a bit next time (no cream, I think), but it did add to the caramel flavor.  As I was making the cake, I thought that the method (using the caramel syrup in the batter) seemed really familiar.  Then I realized it was because I've made the cake before in a different form--this Caramel Cake with Browned Butter Frosting.  

I'm sure I'll be sharing more recipes from this book in the future, but for now, here's the recipe for the Salted Caramel Bundt.

Salted Caramel Syrup
(adapted from Cake Simple by Christie Matheson)

1/4 cup (60 grams) + 1/2 cup (120 grams) water
1 cup (200 grams) granulated sugar
1 teaspoon light corn syrup
1/8 teaspoon fleur de sel or other sea salt

Put the quarter cup of water, the sugar, and the corn syrup in a small saucepan with high sides and mix until combined.  Bring the mixture to a boil, then cover the pan with a lid for about 2 minutes to allow steam to clean the sides of the pan.  Remove the lid and cook the mixture, watching carefully, until the sugar turns a dark amber color.  Swirl the pan so that the sugar will color evenly.  Remove the pan from the heat and carefully add the remaining half cup of water--the mixture will bubble up furiously, so stand back.  Put the pan back over medium heat and whisk to dissolve any hard bits of caramel that may have formed.  Whisk in the salt, remove the pan from the heat, and let the syrup cool to room temperature before using in the cake or glaze.

Salted Caramel Bundt Cake
(adapted from Cake Simple by Christie Matheson)

2 cups (240 grams) all-purpose flour
1/2 teaspoon baking powder
1/2 teaspoon table salt
10 tablespoons (about 140 grams) unsalted butter, slightly softened
1 1/4 cups (250 grams) granulated sugar
1/2 teaspoon vanilla extract
2 large eggs, at room temperature
1/3 cup (about 90 grams) salted caramel syrup
1 cup (240 grams) whole milk, at room temperature

Preheat the oven to 350ºF.  Grease and flour the inside of a 6-cup Bundt pan or spray it with baking spray (I use Pam for Baking).  

Whisk the flour, baking powder and salt in a small bowl until combined.

Using a stand mixer with the paddle attachment, cream the butter and sugar together on medium speed until light and fluffy, 2-3 minutes.  Beat in the eggs, one at a time, then add the vanilla.  With the mixer on low, slowly add the caramel syrup and beat until incorporated.  Add the flour mixture alternately with the milk (flour, milk, flour, milk, flour), beating just until the flour is incorporated.

Pour the batter into the prepared pan and smooth the top.  Bake the cake for 45 to 55 minutes, until a toothpick inserted midway between the outside of the pan and the center post comes out clean.  Let the cake cool in the pan on a rack for 15 minutes, then invert the cake onto a rack and let it cool completely.  

Caramel Glaze
(adapted from Cake Simple by Christie Matheson)

2 tablespoons (30 grams) unsalted butter, softened
1 cup (115 grams) powdered sugar
1/2 teaspoon vanilla extract
2 tablespoons caramel syrup
large pinch of sea salt
1 tablespoon heavy cream

Whisk all of the ingredients together in a small bowl until the mixture is smooth and pourable.  Add additional cream to thin the glaze if necessary (I actually thinned mine with more caramel syrup, too).  Drizzle over the cooled cake.  


Wednesday, January 11, 2012

Warm and toasty


So I said that more information would be coming on how I want to focus on my blog this year.  It took me a few days to come up with a plan that I think will work well.  My initial problem was that there are so many things I'd like to do.  I have a ton of cookbooks, and I don't use them nearly enough.  Ditto with the cooking magazines that I read regularly.  I have lots of baking pans these days, and don't use them enough either.  I have lots of great cooking tools, and interesting ingredients.  When I started to think about all the possibilities, I didn't know where to begin.  That's where the focus idea comes in.  I started to make a list of ideas, and here's what I came up with:

Cookbooks
Magazines
Friends (featuring a recipe from a friend's blog)
Kids (cooking with, or stuff they would like)
Ingredients (maybe seasonal?)
Pantry (using what I routinely have on hand)
Bread (I want to make at least one new one a month)
Pans (I have lots of interesting ones, and lots of different sizes)
Tools

I stopped there--nine is my favorite number, and nine seemed like a reasonable number to fit into a month's time.  Some recipes may fit into more than one category, but I'll post at least one for each separate category each month.  I'm not going to do them in any particular order, since I don't need that much pressure.  This idea appeals to me because it's sort of like a puzzle.  Some categories may be easy to cover in a given month.  Then I'll have to see what I can come up with to fill in the blanks.  For January, I've already done Tools (my balloon whisk) and Magazines (the fudge cake was from Fine Cooking, one of my favorites).  I've got ideas for all but Kids and Pantry, but it's fun to try to figure out what to make for those categories.  This post is going to take care of Cookbooks.


I thought I'd go with one of the new cookbooks I got for Christmas.  The Cook's Illustrated Cookbook is quite the tome, and contains all the best recipes from 20 years worth of magazine issues.  I love my website subscription to CI when I'm searching for something, but I really enjoy browsing through a physical cookbook--that way things can jump out at me that I might never think to search for.  In this case, I knew I wanted to make scones for breakfast because when I ask the girls what I should make, the answer is always "Scones! With chocolate chips, please!"  I wanted something a bit more interesting than a plain scone.  As for the chocolate chips, I'm not always in the mood the way they are, but it's pretty easy to divide the dough (usually two-thirds for them, one-third for me) and add in different things.  I settled on the Oatmeal Scones--never hurts to sneak in some fiber when the girls aren't paying attention. =)

The thing that intrigued me about this recipe is that you toast the oats before you start mixing things together.  I never would have thought to do that, but it makes sense that, like with nuts, it would add to the flavor.  There are several variations at the end of the basic oatmeal scone recipe.  I love maple scones, so I went with that option.  In place of the granulated sugar, you use maple syrup (I used grade B).  I also toasted some pecans to add to my part of the dough and I put a mix of semisweet and bittersweet chocolate chips in the rest so I wouldn't have to listen to B&G complain. =)  I think the substitution of the maple syrup made the dough stickier than usual, and I didn't think I could pat it out without having to use a lot of flour.  So I made drop scones instead.  I used my #16 disher and got an even dozen.  I baked them for 12 minutes, but could probably have left them in a minute or two longer to get a bit more browning on top.  Once the scones had cooled for a few minutes, I drizzled them with maple glaze (just some maple syrup & powdered sugar, with a bit of water to thin it out).

The verdict?  Who would have thought that toasting oats would make such a bit difference in the taste? These are my new go-to scone.  Brianna and Gillian loved them with the chocolate chips; I thought they were terrific with the pecans.  They weren't at all dry; I'm sure the maple syrup helped with that, as did the high baking temp and shorter baking time.  

If you'd like to give these a try, you can, of course, find the recipe in the new Cook's Illustrated Cookbook.  It's also in Baking Illustrated, and can be found online here if you have a membership to the CI website.  

I'm excited about blogging again, so I think my focus idea is going in the right direction.  I've added a tab at the top of the blog where I can keep track of the different categories each month.  I'm also tagging the individual posts (e.g. this one is labeled with "cookbook focus" among other things) so they can be searched that way.  Next up, another new acquisition--my 6-cup Bundt pan!


Sunday, January 8, 2012

One little word


Happy New Year!  Hopefully 2012 is treating you all well so far.  My year started with house guests and a busy work schedule, so I haven't had much time for blogging.  But I had this weekend off, which means time to bake, so I now I have a bunch of stuff to share.  First, though, I wanted to write about my ideas for what I want for my life in 2012.

I don't do New Year's resolutions.  But last week, I read an intriguing post on my friend Anandi's blog. Rather than starting off the year with resolutions, she came up with a single word to use as her theme for the year.  She shared a post from Ali Edwards, who has been doing One Little Word for a number of years now.  The idea is to come up with one word that stands for what you want for yourself for the year.  I started reading through the comments on Ali's post where others had shared the words they picked and why they chose them.  Some were interesting, but after a little bit of reading I found the one that really spoke to me.  FOCUS.  That's what I want for my life this year.  


I struggle a lot with stress and anxiety--I'm a worrier by nature.  The more things that are going on, the more I feel overwhelmed and unable to figure out where to start.  So I don't.  I just shut down and avoid dealing with anything.  I also worry way too much about being perfect and about what others think, instead of figuring out what's right for me.  Already, I see my daughter Brianna (who'll be nine this month) struggling with these same things.  I want to provide a better example for her.  I need to focus on doing a better job of taking care of me so I can do a better job of taking care of everyone and everything else.  I need to focus and handle one thing at a time.  Heck, I need to slow down and figure out which things really need to be handled by me, which can be handled by someone else, and which things just aren't that important.  

Sometimes I feel like I'm forty years old and I still don't really know what I want to be when I grow up.  I tend to go with the flow and do what's expected of me, instead of figuring out what I really want.  I've struggled with that a lot in the past year.  It's really hard for me to say no when someone else wants me to do something, and even when I do say no, I end up feeling really guilty.  I need to focus on that inner voice, listen to it, and give up the guilt.  I suspect it's going to take me the entire year (maybe longer) to get good at all these things.  And that's okay.


When I shared with Anandi that I was going to do One Little Word this year along with her, she asked if I was going to write about it, or "maybe bake a cake with FOCUS iced onto it?"  Well, here you go!  It was too good an idea to pass up.  The great thing about this cake is that it's really quick and easy to make, and it's delicious.  It was published in Fine Cooking in 2004, and I've made it quite a few times since then, but have never blogged about it.  The recipe is from one of my favorite authors of chocolate recipes, Alice Medrich.  One reason I love her is that she most often uses natural cocoa, which I prefer. I broke out the good stuff--Scharffen Berger--since cocoa provides all the chocolate flavor in the cake itself.  Once the cake is cooled, you top it with ganache for another punch of chocolate flavor.  To be honest, I've topped the warm cake with ganache and promptly eaten it with vanilla ice cream, and it's quite fabulous that way.  This time, though, I made sure the cake was cool and then let the ganache set for several hours so I'd be able to decorate it.  

The verdict?  Anything with chocolate is well-received in this house, and this was no exception. =)  As soon as Brianna and Gillian saw it, they wanted to know how soon they could have some.  One thing I really like about this cake is its size--just the one layer, so we actually get through all of it while it's still at its best.  

If you'd like to try the cake for yourself, you can find it here at Fine Cooking.  (The recipe appears to be available to all, not just website subscribers.)  If you're thinking of picking a word for yourself, Ali compiled a list from the comments on her post--you can find it here, and see what speaks to you.  

Stay tuned for more posts this week.  I've come up with some ideas for what I want to focus on here on my blog this year.  I want variety, as well as the chance to share lots of things that I like, and I think I've come up with a good way to do that.


Wednesday, January 4, 2012